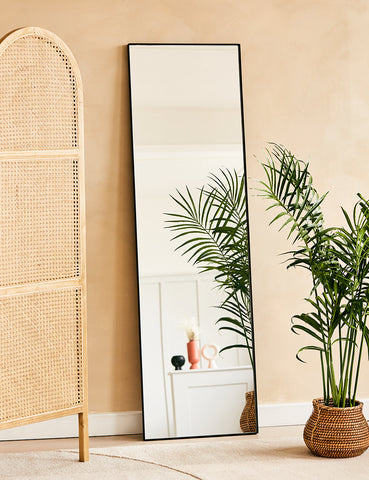
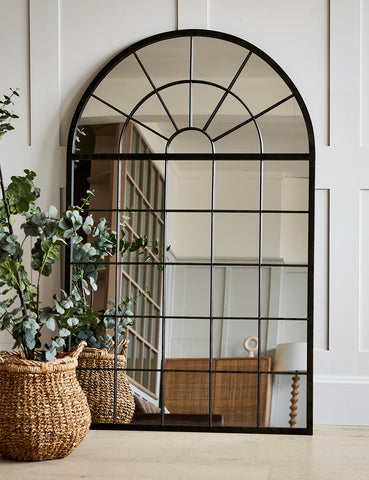
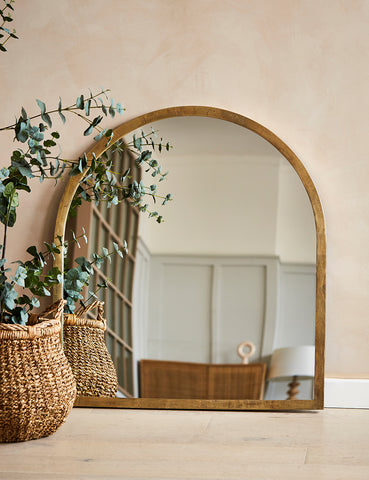
You may have noticed we recently added several large mirrors to our collection. We love how they can open up a space, making it feel bigger and brighter. It may feel daunting to buy such a large piece, so we’ve put together a handy guide for securing your mirror within your home.
Step 1: Check mirror size and weight
Have your eye on a large mirror? Before you order, measure up to make sure your chosen mirror will fit through your front door, around any awkward corners and through any other doorways to reach its final position.
Before you go to hang your mirror it’s vital to check the weight on its webpage or use scales. This will determine whether you can hang it and where it can be positioned within your home. If you’re a little nervous about hanging an extra-large mirror you could always go for the leaner look, which you can still secure to the wall to err on the side of caution.

Step 2: Determine your wall type
You probably already have an idea of the space or room your mirror will go, but maybe not the exact position. This may be influenced by your wall type and how many hanging points there will be. Heavy mirrors will need something to anchor to which may affect where you can place it. For instance, if you are using a partition wall you may need to anchor it to the stud to make it sturdier. Find the stud with a stud-finder tool or just by knocking and listening for where it sounds more solid, rather than hollow. Also make sure you’re not going to hit any pipes or wires before you drill and insert your wall anchors.
The type of fixings you need to use will depend on your wall type (stone, brick, cavity) and also how heavy the mirror is, so make sure to choose the correct ones that have the appropriate weight capacity. The larger and heavier the mirror, the more anchoring it will need in the wall.
If your mirror weighs over 5kg it’s best to have someone help you to hang it. An extra pair of hands can also be useful for holding it in place while you work out which position looks best on the wall, and to help visualise the end result.

Step 3: Measure up and mark out
When you’ve decided on your placement, measure the distance between the mirror hanging brackets on the reverse. Make sure you measure to the centre of each bracket, whether it’s a hook, keyhole or D-ring fixing so you get your screw in the right place. Then measure the same distance on the wall, marking the hanging points with a pencil or masking tape, ensuring they are level, so you end up with a straight mirror.

Step 4: Hang your mirror and adjust as necessary
Drill holes at your hanging points and then insert your wall anchors, followed by suitable screws, leaving some of the screw and its head protruding (but in far enough to be secure) for you to hang the mirror from its rear brackets. Once you’ve hung your new mirror, check its level and step back to admire your handiwork.
Find the latest additions to our mirror collection here.


